Thousands of reviews from trusted companies


Some Numbers
Lorem ipsum dolor sit amet, consectetur adipiscing elit, sed do eiusmod tempor incididunt ut labore et dolore magna aliqua.
Top Categories
Lorem ipsum dolor sit amet, consectetur adipiscing elit, sed do eiusmod tempor incididunt ut labore et dolore magna aliqua.

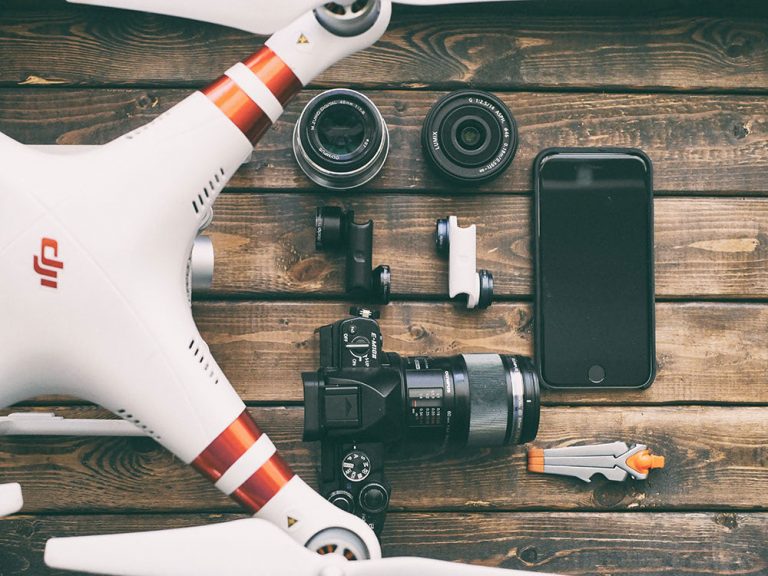
Drones
Lorem ipsum dolor consectetur adipiscing elit sed do eiusmod.
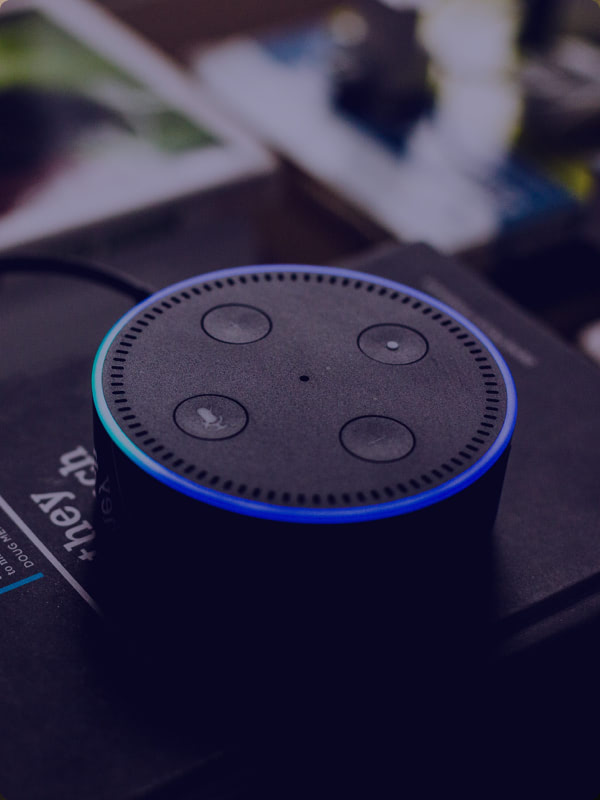
Home Assistants
Lorem ipsum dolor consectetur adipiscing elit sed do eiusmod.

Smart Watches
Lorem ipsum dolor consectetur adipiscing elit sed do eiusmod.

Gaming Consoles
Lorem ipsum dolor consectetur adipiscing elit sed do eiusmod.

Cameras
Lorem ipsum dolor consectetur adipiscing elit sed do eiusmod.

Action Cameras
Lorem ipsum dolor consectetur adipiscing elit sed do eiusmod.
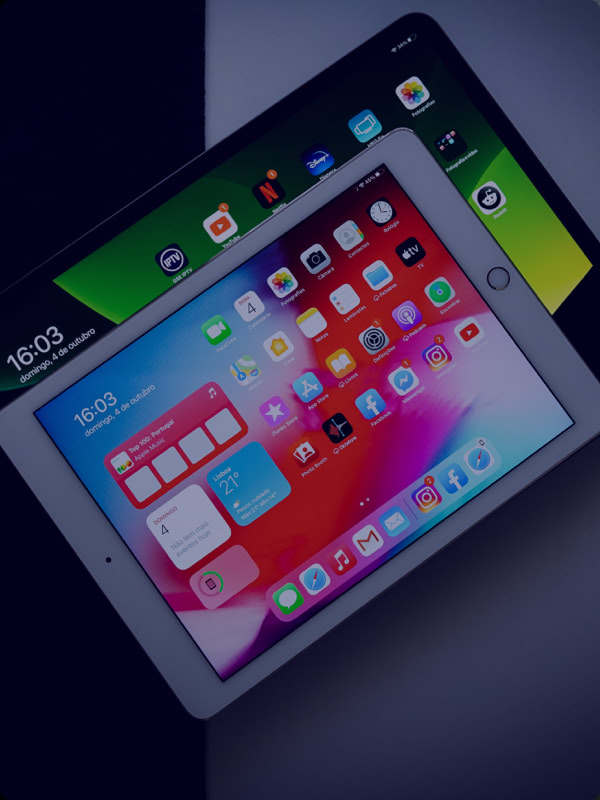
Tablets
Lorem ipsum dolor consectetur adipiscing elit sed do eiusmod.

Tech Puzzles
Lorem ipsum dolor consectetur adipiscing elit sed do eiusmod.
Popular Reviews
Lorem ipsum dolor sit amet, consectetur adipiscing elit, sed do eiusmod tempor incididunt ut labore et dolore magna aliqua.
Cum Sociis Natoque Penatibus
Lorem ipsum dolor sit amet, consectetur adipiscing elit, sed do eiusmod tempor…
Malesuada Proin Libero Consequat
Lorem ipsum dolor sit amet, consectetur adipiscing elit, sed do eiusmod tempor…

Sapien Pellentesque Habitant Morbi
Lorem ipsum dolor sit amet, consectetur adipiscing elit, sed do eiusmod tempor…

Congue Quisque Egestas Diam Onarcu
Lorem ipsum dolor sit amet, consectetur adipiscing elit, sed do eiusmod tempor…
Rating: 4/5
Bibendum Arcu Vitae Elementum
Lorem ipsum dolor amet, consectetur adipiscing elit, sed do eiusmod tempor incididunt labore dolore.
